Top 6 Ways to Disable BitLocker on Surface
How to Turn off BitLocker on Surface?
“I bought my Surface Pro 3 computer in December 2014 and it worked without any issue....until today. Since today it needs the BitLocker recovery key each time I power on. How to disable BitLocker on Surface Pro 3?”
-Microsoft Community
BitLocker is a built-in feature that can encrypt hard drive but give access to authorized users, which can help protect your files. However, some people have been complaining BitLocker encryption issues on Surface and looking for some easy ways to turn off BitLocker on Surface. Actually, Surface comes with BitLocker encryption enabled by default. This passage will introduce top 6 ways to disable BitLocker on Surface Pro/Book/Studio with Windows 8/10.
Method 1. Disable BitLocker on Surface from Settings
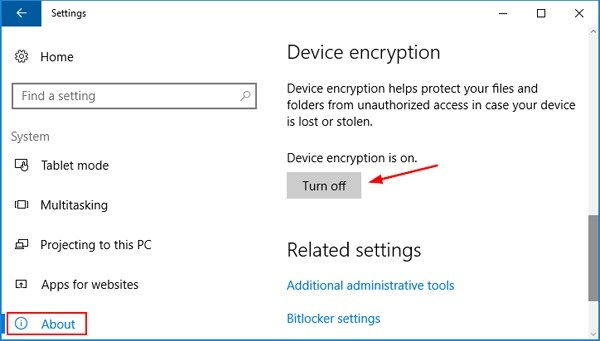
Press “Windows” and “I” key combo to open Settings > click “System” > click “About” on the left side > Scroll down to “Device Encryption” and click “Turn off” button.
Method 2. Turn off BitLocker on Surface from Control Panel
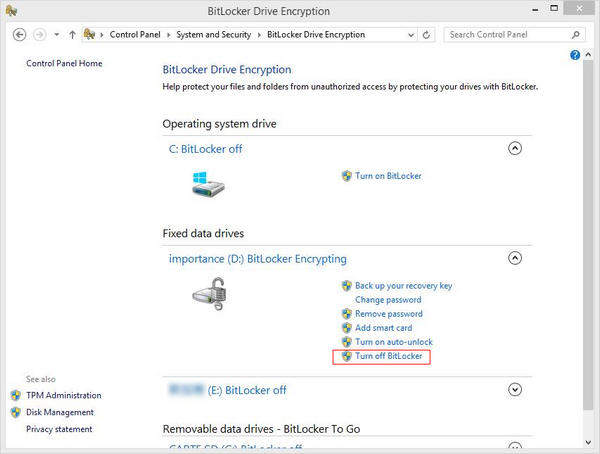
Open Control Panel in large icon view > click “BitLocker Drive Encryption” > click “Turn off BitLocker” and confirm.
Method 3. Use Group Policy Editor to Remove BitLocker Encryption
Another way to decrypt BitLocker on Surface without password is to use Group Policy Editor.
Step 1: Open search bar and input “Group Policy” > choose “Group Policy Editor”.
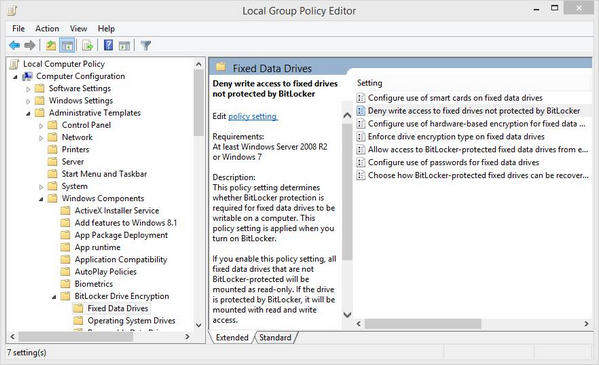
Step 2: Click “Computer Configuration” > “Administrative Templates” > “Windows Components” > “BitLocker Drive Encryption” > “Fixed Data Drives” > double click “Deny write access to fixed drives not protected by BitLocker”.
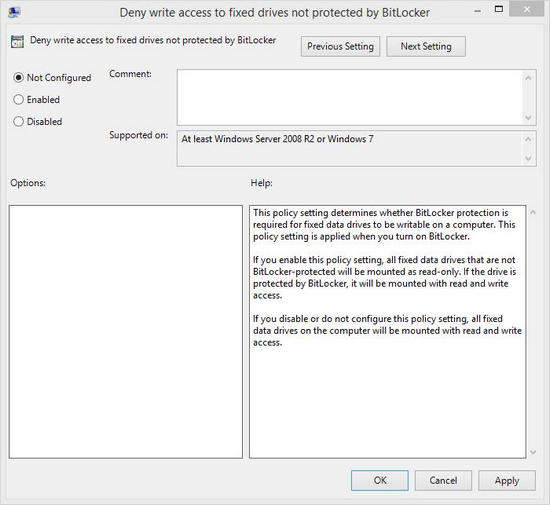
Step 3: Choose “Not Configured” or “Disabled”, and click “Apply” and “OK”.
Once you finishes, you have succeed in unlocking BitLocker encryption without password.
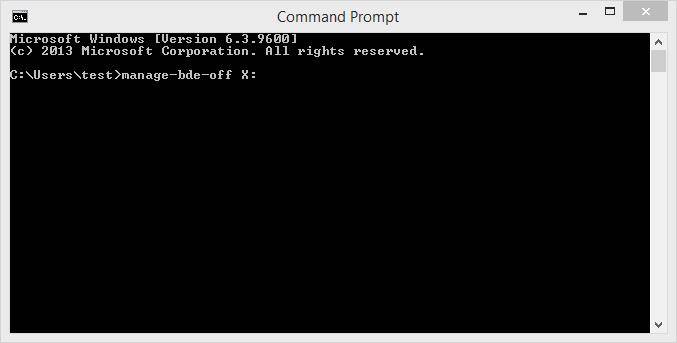
Method 4. Decrypt BitLocker Using Command Prompt
Command Prompt is useful when it comes to decrypting or resetting Windows password. You can disable BitLocker using command lines.
Step 1: Press “Windows” + “X” key combo to open Command Prompt as administrator.
Step 2: Type the command line to disable your BitLocker Encryption. Be sure to replace X with the actual hard drive letter.
manage-bde –off X:
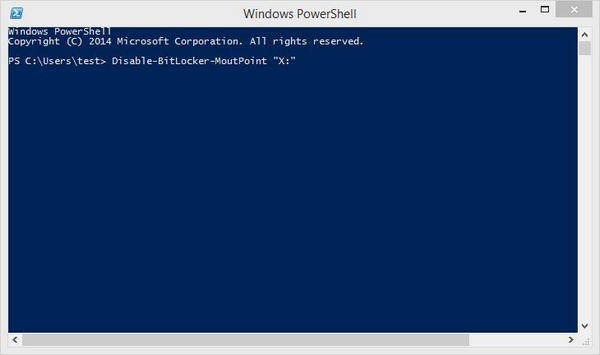
Method 5. Use PowerShell to Turn off BitLocker
- Press “Windows” + “X” key combo and select “Windows PowerShell (Administrative)” to open PowerShell.
- Type Disable-BitLocker –MountPoint “X:” and press Enter to run it. (Replace X with the actual hard drive letter.)
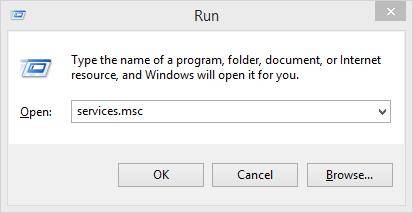
Method 6. Disable BitLocker Drive Encryption Service on Surface
Step 1: Press “Windows” and “R” combo, type “services.msc” in run box and hit “Enter” key.
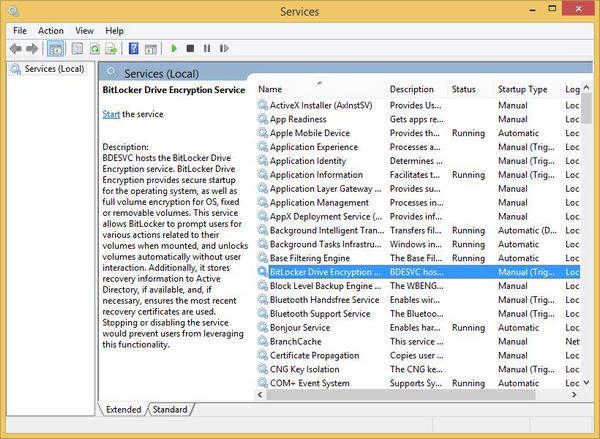
Step 2. Double click “BitLocker Drive Encryption Service”. Set “Startup type” as “Disabled”. Once it’s done, you can remove BitLocker Encryption on Surface.
Bottom Line
This post tells you 6 easy methods of disabling BitLocker on Surface Pro/Book/Studio etc. Hope it can fix BitLocker recovery key loop issue and turn off BitLocker successfully. If you have other problems, please leave your comments.
- Related Articles
- Ways to Recover Forgotten Password for Windows 10 Acer Laptop
- How to Disable BitLocker on Windows 8.1/8
- How to Reset Password on HP Laptop without Disk
