How to Use System Restore on Windows 10
How to Enable and Utilize System Restore on Windows 10
Microsoft knows that things can go wrong in your PC sometimes for no reason and so they have added a feature called system restore Windows 10. Sometimes, while configuring settings or installing software, you may end-up doing something that changes everything and your PC just won’t boot-up. This is when the system restore comes into the picture. It allows you to restore your PC to the point where it was working perfectly.
The following guide sheds light on how to do a system restore on Windows 10. Follow it to the letter and you will be able to resolve many issues on your PC.
Part 1: How to Turn on System Restore on Windows 10
Part 2: How to Create a System Restore Point on Windows 10
Part 3: How to System Restore Window 10 from Boot
Extra Tip: Windows 10 System Restore Not Working
Part 1: How to Turn on System Restore on Windows 10
Before you can create a system restore point on your Windows 10 PC, you will need to first enable the feature from the settings menu. Turning on the feature is as easy as clicking a few options and the following steps should walk you through each phase of the process.
- Using the Start Menu search function, search for “Create a restore point” and click on the System Properties result. When it opens, select your Windows installation disk drive and click on the Configure button.
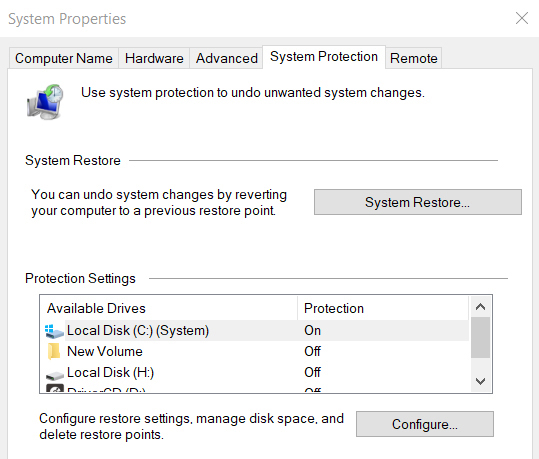
- On the following screen, you will find an option saying Turn on system protection. Click on it to select it and then click on the Apply button followed by OK.
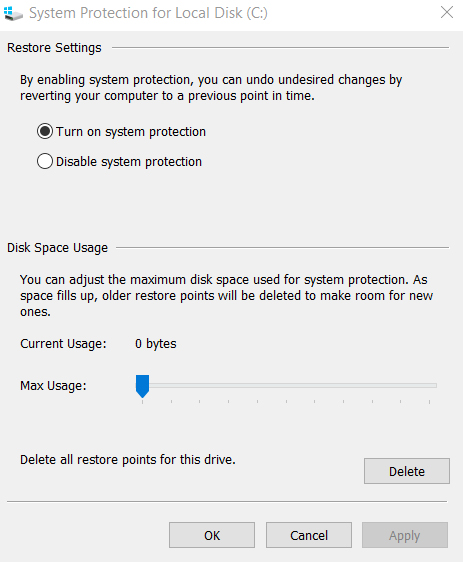
An extra feature that Windows provides you is the ability to select what amount of storage you would like to assign to restore points. Use the slider on your screen to specify storage amount.
The system restore feature is now enabled on your computer. From now onwards, when a major change takes place on your system, your PC will automatically create a system restore point for you to roll back the changes should you want.
Part 2: How to Create a System Restore Point on Windows 10
While the above feature will automatically create system restore points for you, sometimes you may want to create a system restore point Windows 10 by yourself. Maybe you are going to make a major change to your system and you would prefer manually creating a restore point.
It is totally possible to create such a point by yourself and the following steps show how to do it:
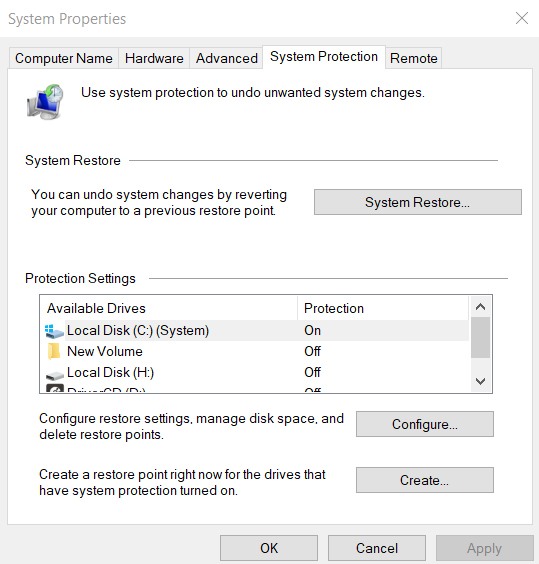
- Search for “Create a restore point” using the Start Menu search function and select System Properties. Select your Windows installation disk drive and click on the Create button.
- You will be asked to enter a name for the restore point. Enter a meaningful name for the point and click on the Create button to create it.
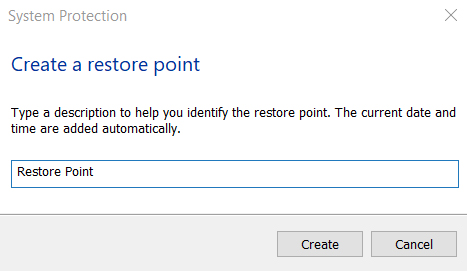
The system restore point should be created with your chosen name. When somethings goes wrong and you can’t get your PC to work normally, you can restore your PC to the above restore point.
Part 3: How to System Restore Window 10 from Boot
If you made any changes to your system and now your computer won’t boot up, you can use system restore Windows 10 from boot to restore your system without it first booting up. The feature is really useful as it lets you restore your PC even if it does not turn on.
The following steps show how to do it:
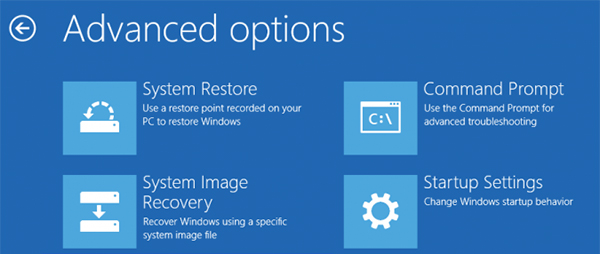
- Try to boot-up your PC a few times and it will open the troubleshoot options screen. From that screen, head to Advanced Startup > Troubleshoot > Advanced options and click on System Restore. It will let you restore your PC.
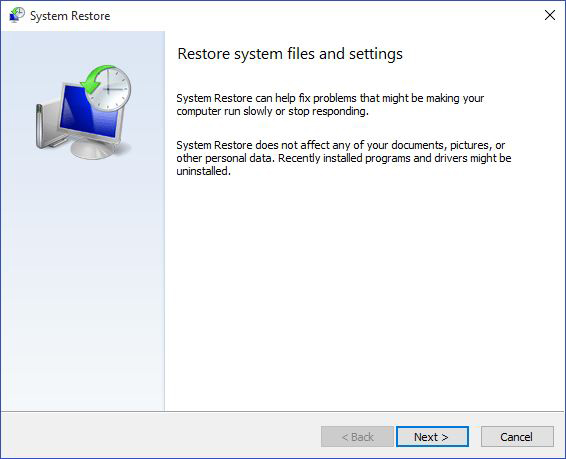
- On the following screen, just click on the Next button to continue with the process.
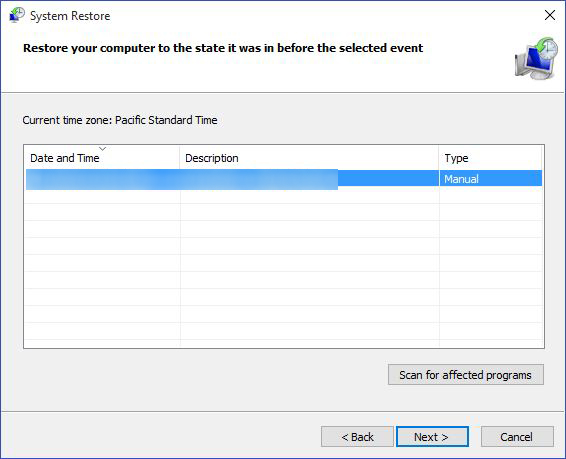
- You should now see all the restore points available on your PC. Select the most recent one from the list and then click on the Scan for affected programs button.
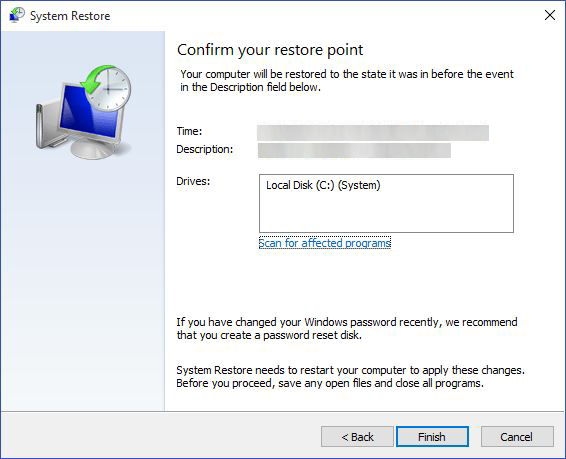
- On the last screen, click on the Finish button to let Windows begin restoring your PC to the chosen restore point.
Your PC will reboot and Windows will start the restoration process on your computer. Since it will be restoring settings and files, expect a good time delay for the procedure to pass before you can use your PC.
Extra Tip: Windows 10 System Restore Not Working
If system restore not working Windows 10 is the issue you are facing, then you will need to look for the alternative options that can help you restore your PC or make it functional again using any other ways. Fortunately, there is a tool called Windows Boot Genius that allows users like you to fix many of the boot issues on your computer.
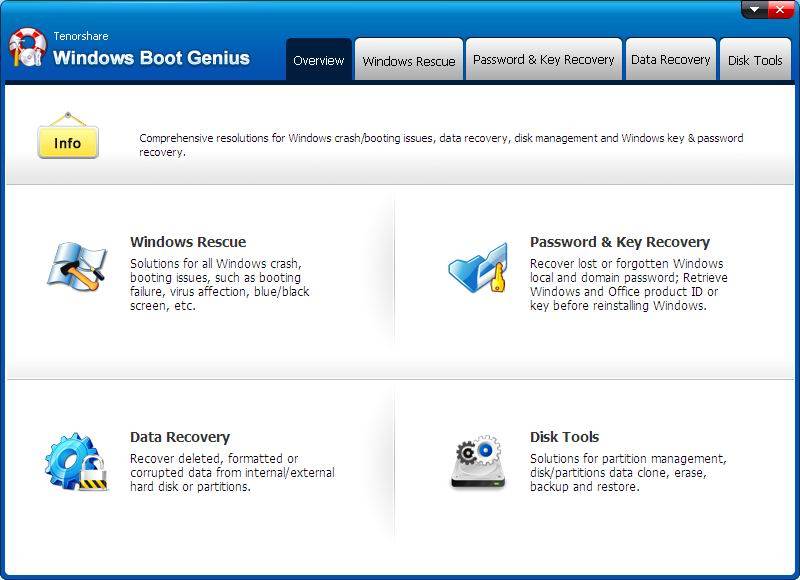
The tool can help you detect and resolve many kind of boot file issues on your computer. It’s fairly easy to use the tool and it can be obtained from its official website.
We hope the above guide helps you enable and create a system restore point on your Windows 10 computer. In case it doesn’t work for you, you have Windows Boot Genius as an alternate tool.
- Related Articles
- The Most Common 7 Password Problems and Fixes in Windows 10
- Top 2 Ways to Fix Corrupted Windows 10 MBR
- Top 3 Ways to Fix BOOTMGR Missing on Windows 10
