Top 3 Ways to Fix NVIDIA Control Panel Not Opening on Windows 10
Top 3 Ways to Resolve the NVIDIA Control Panel Launch Issues on Windows 10
If you face the issue of NVIDIA Control Panel not opening on Windows 10, then perhaps you are in trouble as you cannot modify any of your NVIDIA settings without first opening the control panel. While the issue may not occur too often, but when it does, it puts you in trouble as there’s simply no way for you to access your NVIDIA configuration without that panel.
Fortunately, there are multiple ways to resolve the issue on your Windows 10 computer. Once you have applied any of these fixes, you should be able to access the NVIDIA Control Panel on your computer. Let’s see what these fixes are and how you can apply them to your system:
Fix 1. Restart your NVIDIA Control Panel Process
As suggested by numerous technicians for other issues on your computer, you should try restarting the NVIDIA Control Panel on your computer. Sometimes a quick thing like restarting the panel does the job and lets you access your panel. It’s quite easy to restart the panel and the following steps show exactly how to do that:
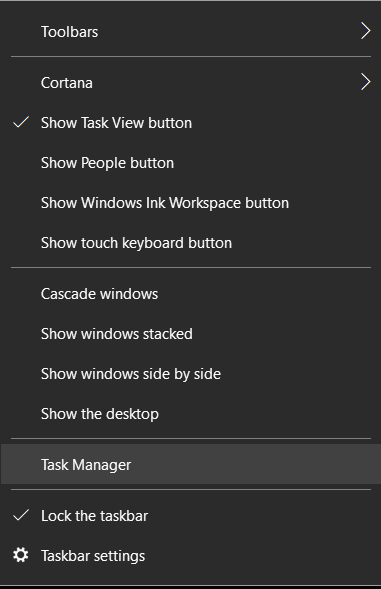
- Open the Task Manager utility on your Windows 10 computer by pressing the Ctrl + Shift + Esc key combination. Alternatively, you can right-click on your Taskbar and select Task Manager to open the utility.
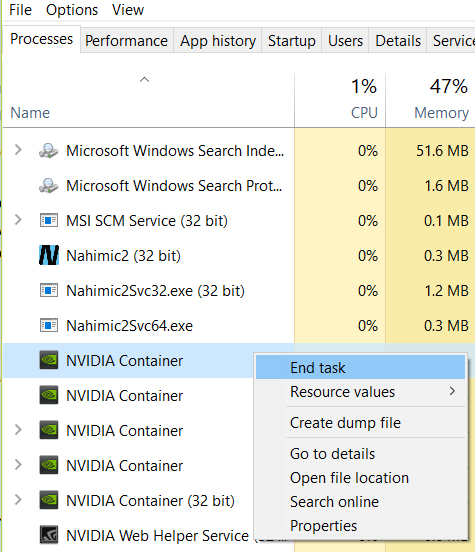
- In Task Manager, click on NVIDIA Control Panel to expand the menu and then right-click on NVIDIA Control Panel and select End task. It will kill the task for you.
Now that the NVIDIA Control Panel has been closed, re-open it on your computer and you should find that it works well now. If there were any issues with the app, those should be fixed now.
If the NVIDIA Control Panel not working Windows 10 problem persists even after trying the above method, you may want to update the drivers for the panel using the following section.
Fix 2. Update the NVIDIA Graphics Driver from Device Manager
It’s highly recommended that you keep your drivers up to date always to avoid any kind of issues on your computer. If you have not updated the NVIDIA drivers on your PC for a while, you should do that, and it may fix the issue you are facing with the Control Panel on your system. The following steps should teach you how to update drivers on your PC:
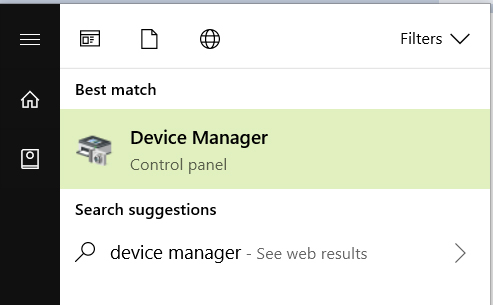
- Launch the Start Menu and search for and click on Device Manager. It is the utility that allows you to update drivers for various devices on your computer.
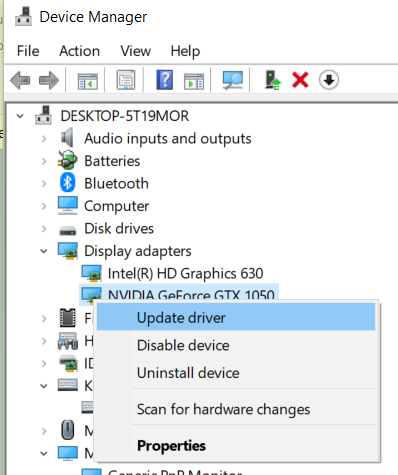
- When Device Manager opens, find the NVIDIA device you have connected to your computer and right-click on it and select Update driver.
The utility will begin to update the drivers for the selected device on your computer. Wait while it grabs the required drivers and installs them on your computer for you. Once it’s done, restart your machine and you should be able to access the NVIDIA Control Panel without a hitch on your computer.
Now you know how to open NVIDIA Control Panel Windows 10 without any issues.
Fix 3. Restart and Modify NVIDIA Display Driver Service
If the above two fixes did not work for you and you are looking for more help, this section should provide you one more way to fix the issue on your computer. Basically, what you will be doing in this section is you will be restarting the NVIDIA Display Driver Service so that the issues related to it can be fixed.
Here’s how you can go about restarting and modifying NVIDIA Display Driver Service:
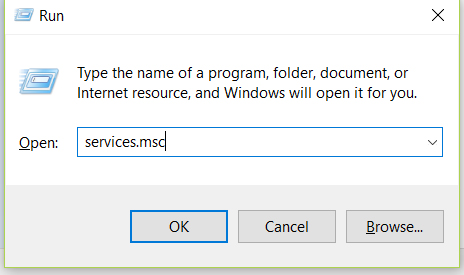
- Open the Run dialog box on your computer by pressing the Windows + R key combination on your keyboard. Type in “services.msc” in the box and hit Enter.
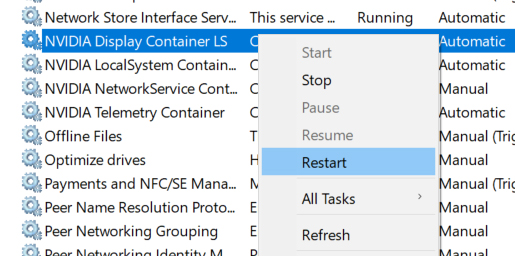
- On the following screen, look for the service that says NVIDIA Display Driver Service and right-click on it and select Restart. It will restart the selected service on your machine.
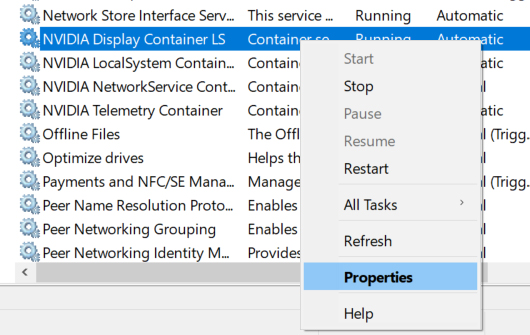
- After restarting the service, right-click on the same service again and select Properties.
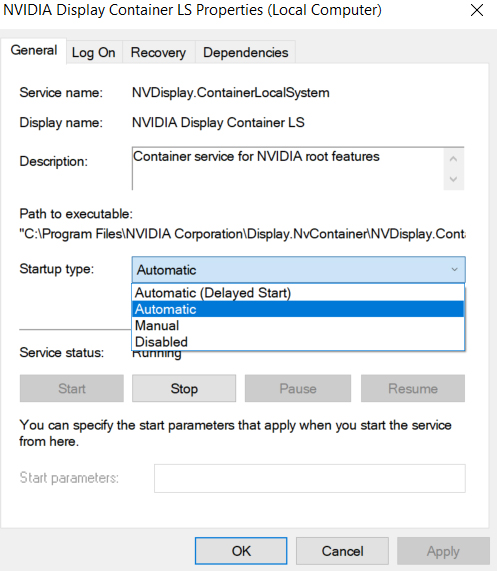
- On the following screen, choose Automatic from the Startup type dropdown menu. It tells the service to automatically launch on your computer. Click on OK to save the changes.
Having made above changes, you should be able to open the NVIDIA Control Panel on your Windows 10 system. It will never say it can't open NVIDIA Control Panel Windows 10 as you have applied all the possible fixes to your computer.
It’s good to learn to fix some of the common issues on your Windows 10 computer as this way you can fix the system by yourself without hiring a technician. Another common issue is users forgetting their account passwords. When one forgets the password for one’s Windows user account, they can’t access any of the files stored in their account. Fortunately, there’s an app called 4WinKey that provides users with an effortless way to recover or reset their passwords.
The above guide should help you access the NVIDIA Control Panel on your Windows 10 computer. However, if it is an NVIDIA Control Panel missing Windows 10 problem, then you should go ahead and obtain it from the NVIDIA’s official website.
- Related Articles
- Top 3 Options to Fix Windows 10 Computer Lagging/Slow
- Top 5 Tips to Keep Windows 10 Laptop at High Performance
- How to Create UEFI Bootable USB to Install Windows 10/8.1/8
