Top 3 Ways to Take Screenshot on a Dell Laptop Windows 10
Top 3 Ways to Take Screenshot on a Dell Laptop Windows 10
Because a picture paints a thousand words, it’s only natural that an image can help you explain something better than words alone. That’s one of the few reasons why people take screenshots on their computers.
The problem is that not all computers are built the same. One might give its users a dedicated button to take screenshots, while others might require their users to jump through hoops just for one simple screen capture.
If you are a Dell computer owner and it’s running on Windows 10, here are top 3 ways to take screenshots on your machine.
1. Using Print Screen (PrtScn) Button
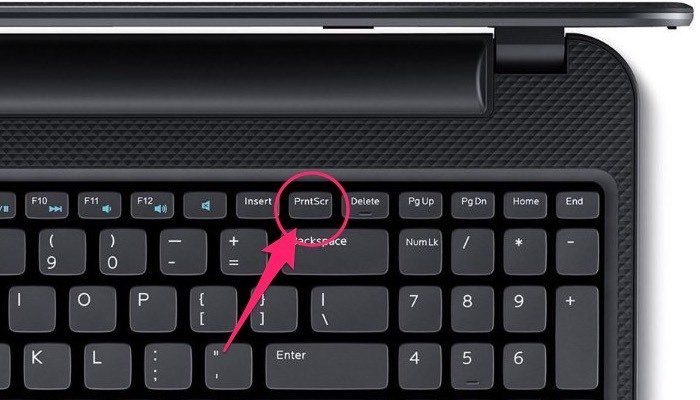
Every modern personal computer should come with a print screen button. The location could be different based on the type of computer, but they are always somewhere near the number buttons. On Dell laptops, this key is usually on the function keys row after F12. Some models might put the print screen button on one of the function keys and require you to press the Fn button to access it.

When you press the Print Screen (PrtScn) button, the computer will capture the image of the whole screen and keep it in the clipboard. Alternatively, you could print only the area of the active window using the combination Alt + PrtScn.
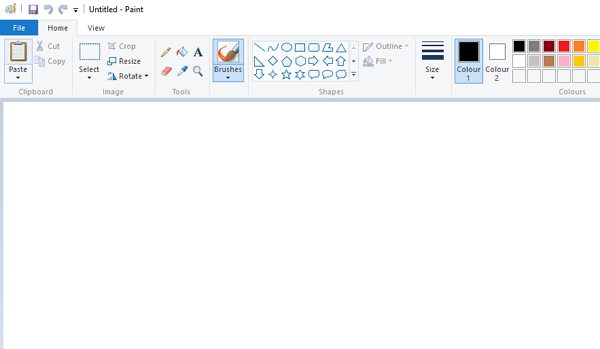
It might look like nothing happened, but you can be sure that the image is there. The problem is, the default number of item in the clipboard is only one. Your screen capture image will disappear as soon as you put something else in the clipboard. To bring the image out from the clipboard, you need a little help from an image editor such as the classic Paint.
Open Paint and create a new document. Then paste the image to paint using the Edit menu or using the keyboard combination Ctrl + V.

Then save the image to your hard drive using the Save menu or keyboard combination Ctrl + S.
2. Using Sniping Tool
Sniping Tool is a capable screen capturing tool and has been a part of Windows since Vista and remain unknown to most of the Windows users.
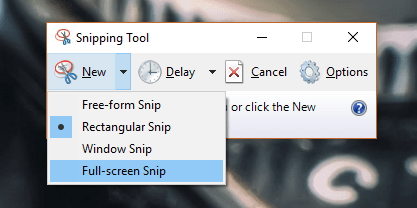
To use it, open the app using Windows’ Search function. Start by creating a new “sniping” by clicking the New button, then drag the cursor to cover the area of the screen that you want to capture.

When you release the cursor, the selected area will be saved to Sniping Tool’s window, and you can save it to your hard drive without the help of other application.
3. Using External Applications
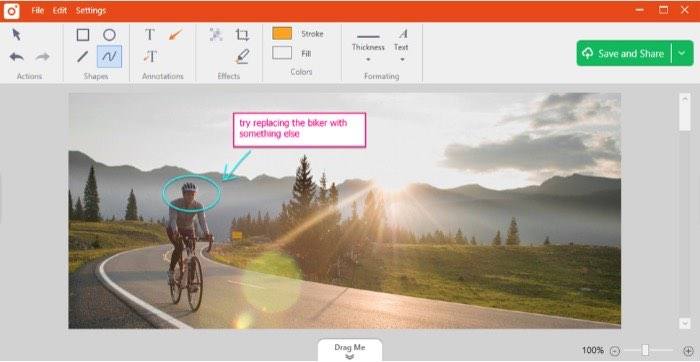
But if you need further customizations, more than just taking simple screen shots, you might want to consider using a dedicated screen capture application. This kind of applications come with more advanced features like the ability to add annotation, type texts, crop and adjust the images, record videos, share the pictures, and much more.
There are many alternatives available, both free and paid, but for those who doesn’t want to spend money on the app could try TinyTake, Jing, Greenshot, Screenpresso, LightShot, and many more free alternatives.

An Ounce of Prevention
Experience taught us that an ounce of prevention is better than a pound of cure. If you unfortunately forgot your Dell laptop password or cannot access to your Dell notebook, you can use Windows Password Key, a professional and instant Windows password unlocker to recover login password on Dell laptop Windows 10/8.1/8/7.
- Related Articles
- How to Crack Laptop Password When I Forgot It
- Top 4 Free Windows 10 Password Recovery Reset Tools
- How to Reset Forgotten Windows Password on Asus Computer
comments powered by Disqus
